
Natural Dye Indigo Kit Instructions Guide
The 1-2-3 Indigo VAT is fun and easy!
Originally created by botanist & chemist Michel Garcia, this method is very easy and great for beginners. Our kit will give you the joy of working with indigo but at a manageable scale and allow you to experience first hand the process of the 1-2-3 indigo vat method. You will be able to complete several small projects, like a Tee or textile but not necessarily bed linen for example...!
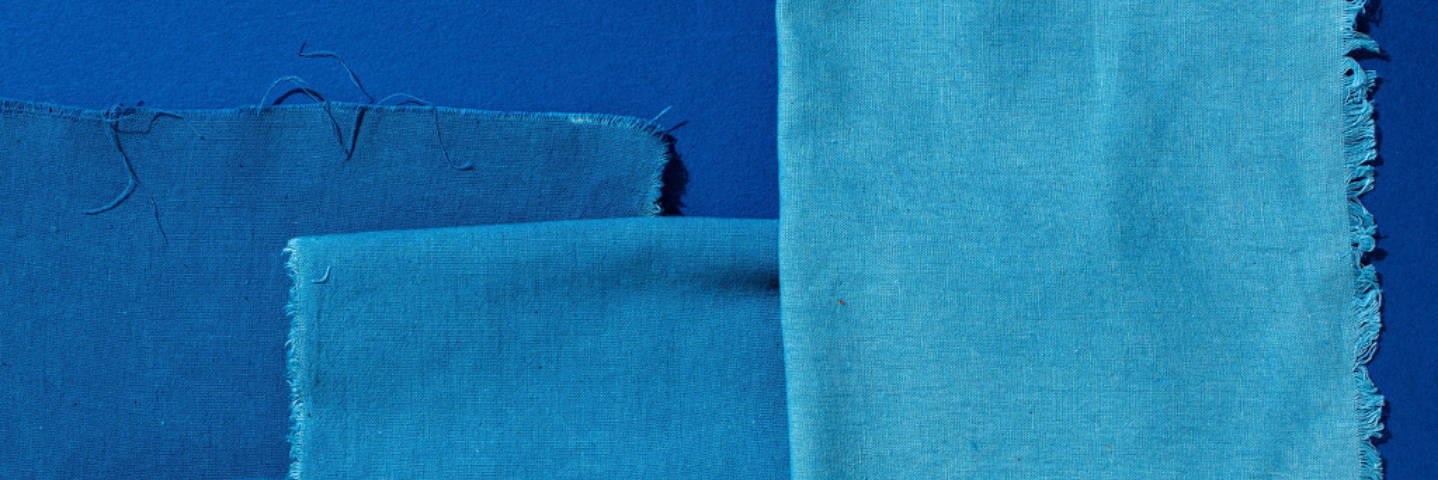
An exhaustive vat, indigo will perform deepest shades at the beginning so you should bear this in mind when working with your projects to commence with those pieces you want darkest. The more the vat is used, it will produce lighter soft shades of sky blue. Of course, the more times you dip your fibre the deeper the indigo will become.
Natural vats are a living organism and require care and attention to be healthy. The vat needs to be of a high alkalinity of 10 - 11 on the pH scale and must have the oxygen reduced from its environment.
Fibres and Fabrics
Natural fibres work very well with indigo.
Cellulose fibres are any fibre that comes from plants - cotton, linen, hemp, jute, ramie
Protein fibres are any fibre that comes from an animal - silk, cashmere, angora, wool, alpaca.
An indigo vat is high in alkalinity and therefore wool will likely react. The best way is always to test a small sample before applying to larger pieces of fibre or projects.
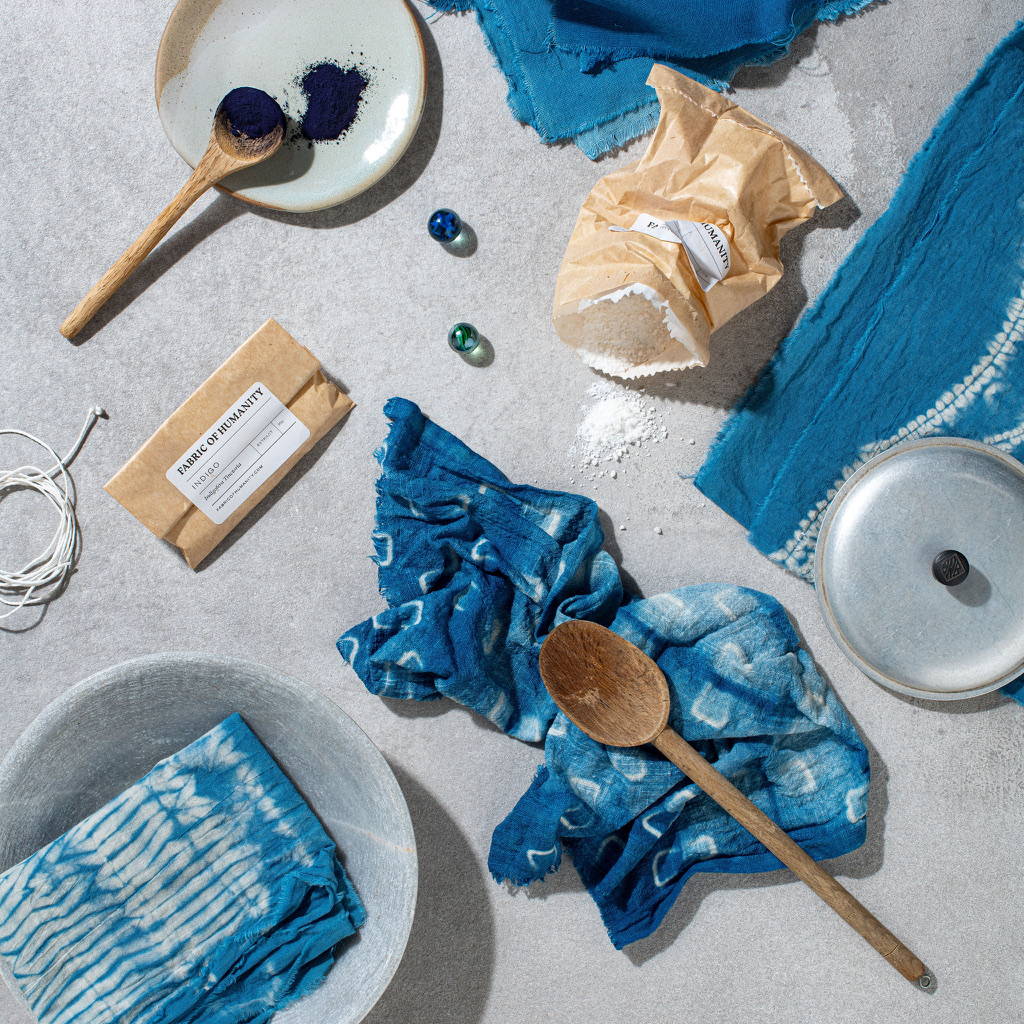
You will need :
A stainless steal, ceramic or plastic vessel large enough to hold 12-16L of warm water (70 - 80degrees)
Plastic water bottle
Rubber gloves
A large wooden spoon, piece of dowel
Old cloth
Bucket
Thermometer
Wire basket or grill
Immersive heating element
Step 1 - PREPARING YOUR FIBRE
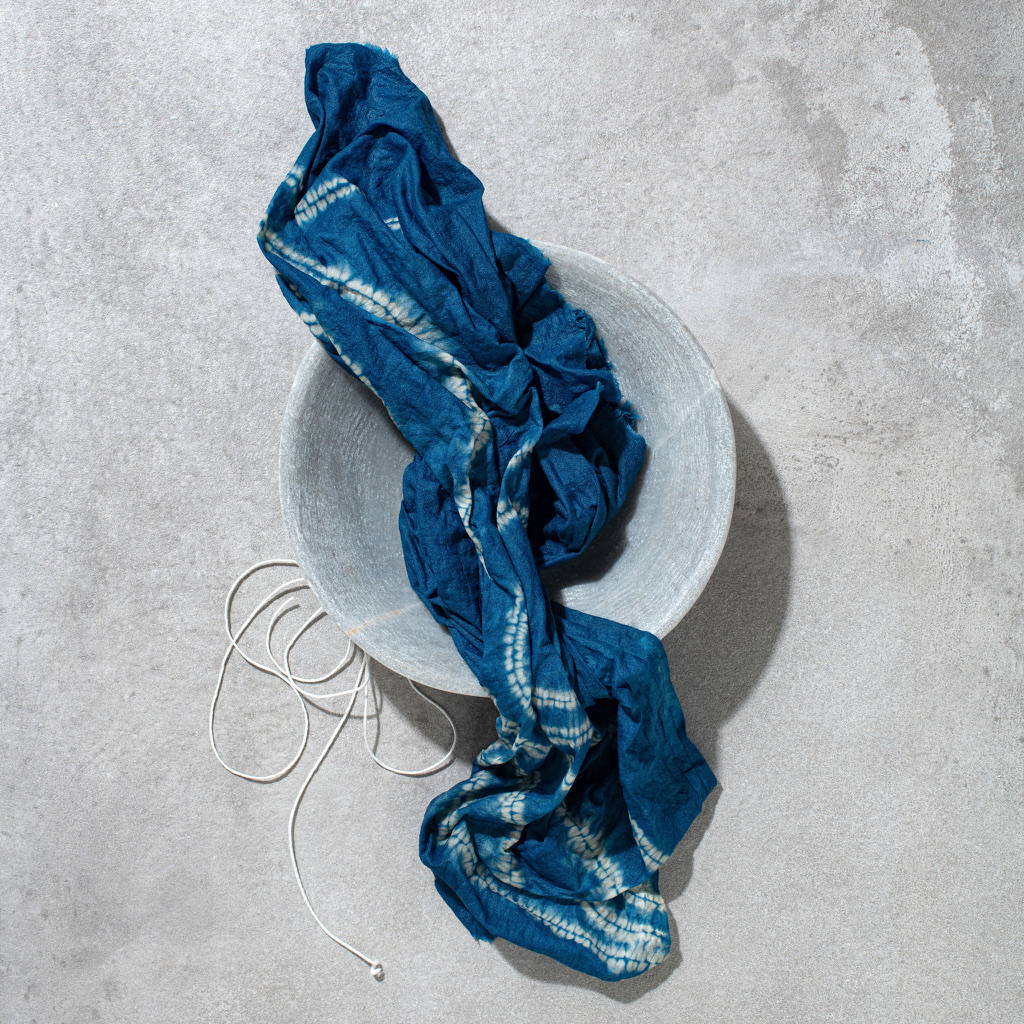
To begin, we must scour your cloth. This is a really important process and will set you up for success.
Scouring cleanses and prepares the fibre for thorough and even absorption. Scouring will remove oils, waxes, dirt or pectin that have been used in the weaving process.
As this is a small dye kit then we recommend washing your fibres in washing machine on hottest possible cycle with a mild or neutral detergent.
For more comprehensive instructions on Scouring for larger projects visit our Natural Dye Instructions Guide.
Step 2 - PREPARING YOUR VAT
An Indigo VAT is a living organism and does require your attention to keep it alive. It is also exhaustive, so it will get lighter shades of blue in time and it requires no oxygen so should be kept covered & warm at 35degrees when not in use (wrapped in a blanket!). The best thing is that one VAT will allow you to create shades from light blue to deep indigo by simply dipping your fibre multiple times. It sits at a high alkalinity of 10-11 pH.
You will need :
Large vessel
Wooden spoon
Thermometer
Wire basket or grill
Instructions :
Fill vessel with 12-16L of water & heat to 80degrees using immersive heating element (alternative is to use hot water from hot but not boiled kettle)
Place your wire basket or grill in bottom of vessel (this will prevent fibres from falling to bottom of vessel in sediment)
Step 3 - WETTING OUT YOUR VAT & STIRRING
Wetting out
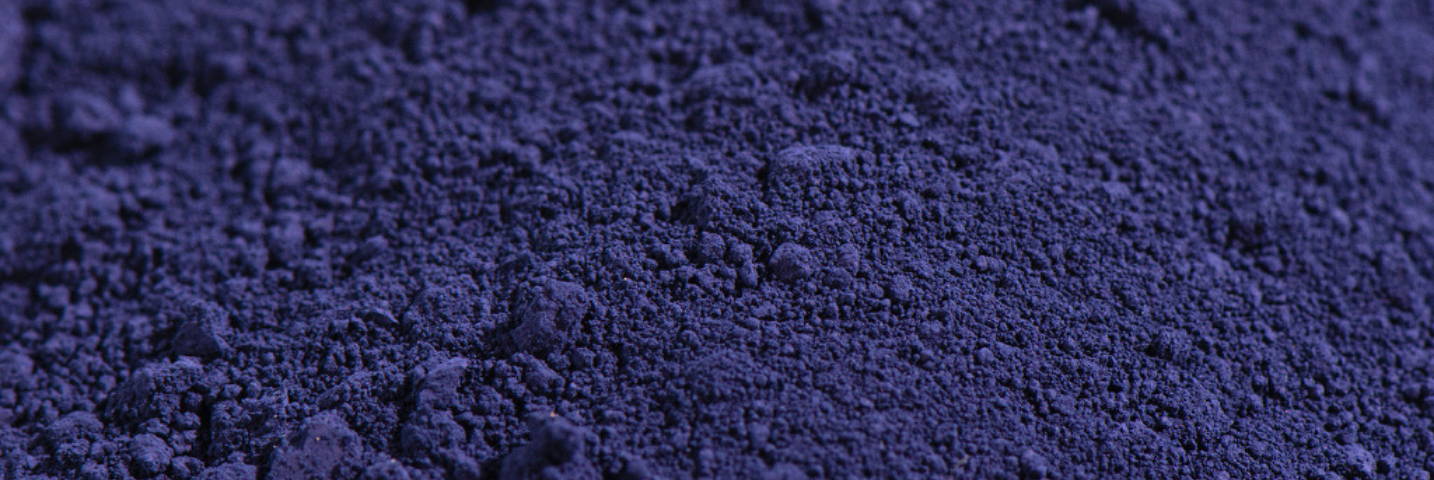
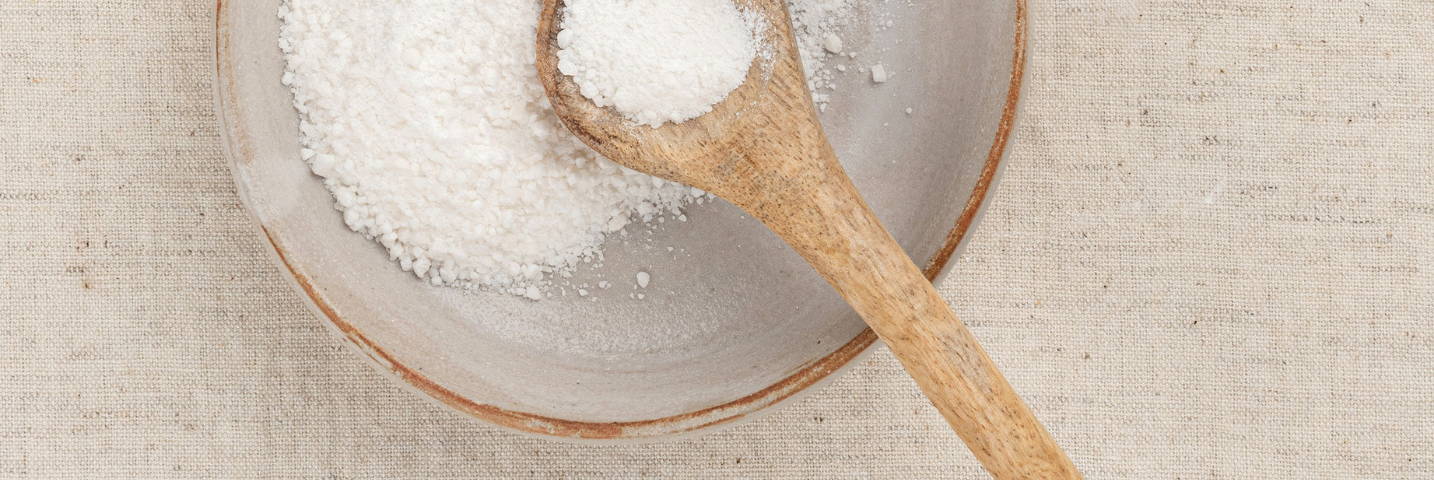
Indigo powder is not soluble so to make it soluble you need to wet it out.
You will need :
Plastic water bottle
Wooden spoon or long stirring tool
Old blankets or doona
Clamps or rope
Instructions :
Add 5 marbles, indigo from kit & 40ml of water to plastic bottle.
Shake vigorously to 'wet out' indigo making it porous.
Add wetted out indigo to your large vessel (avoiding marbles if you can!). Rinse out plastic bottle ensuring all indigo is in vat.
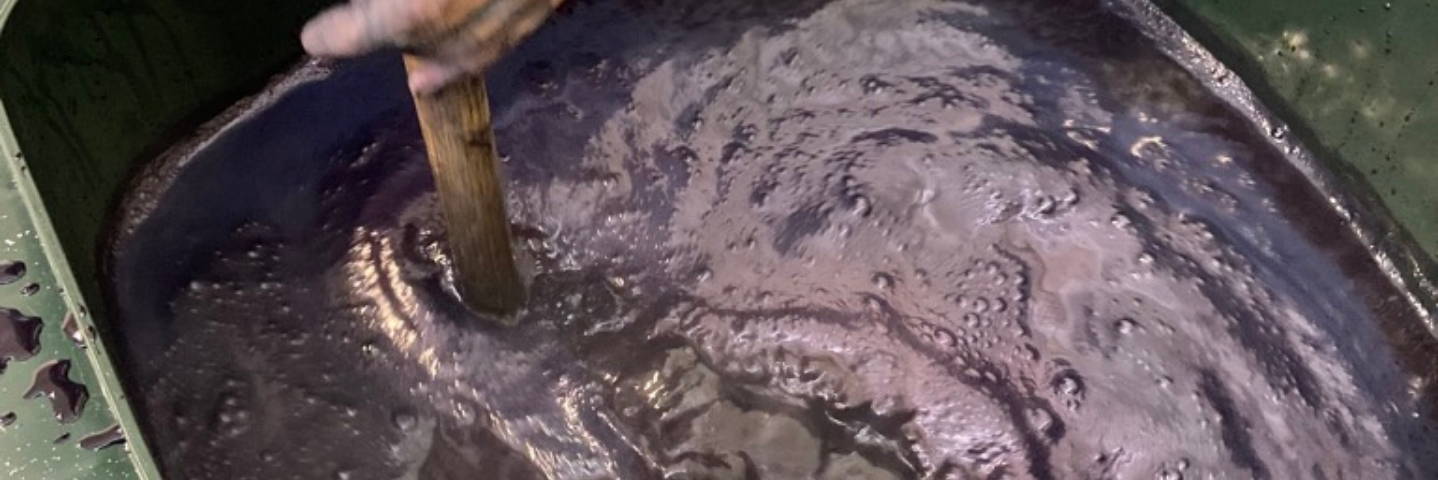
Stir well but gently to avoid adding unwanted oxygen to your VAT.
Add fructose & stir well.
Add lime & stir well for 2-3mins.
A cluster 'indigo flower' will appear and this says you are doing this correctly.
Allow to settle when all ingredients have dissolved.
You will notice that the liquid below the indigo flower will begin appearing yellowish and translucent. This is good.
Your VAT will be hot. We want to leave it sit overnight or until it has cooled down (at least 3 hours). We need it to retain it's heat and ultimately sit between 30-35degrees overnight. To do so, wrap it in blankets clamping or tying as necessary and leave it sit still for a good nights sleep.
Step 4 - DYEING
Prepare your textiles or fibres by wetting them storing them in a bucket overnight.
You will need :
Textiles/fibre to be dyed
Bucket
Rubber gloves
Thermometer
Instructions :
Measure the temperature of your vat and bring back to 30-35 degrees. Stir well and let settle for 20 mins.
Squeeze out your textiles/fibres and set bucket with cold water aside.
Put on your rubber gloves.
Remove indigo flower from top of vat if still present.
Commence dunking your textile/fibre gently submerging one piece at a time using a folding motion and ensuring it remains submerged. Allow to remain submerged for 2-6 mins, before wringing out excess indigo water back into vat. At this stage you will notice your textile is more greenish and when you remove from vat with air it will turn blue.
Place dyed textile/fibre into bucket with cold water for 1-2 mins.
Remove & wring out, repeating dipping process as many times as you desire to achieve shade of blue.
Re-using VAT :
VAT can be used multiple times. To wake it up, remove indigo flower and set aside carefully, reheat it to 30-35degrees. If liquid is blue, vat needs rebalancing. It can be rebalanced by adding a generous spoonful of fructose and indigo. To keep, add indigo flower back to top of vat, wrap to retain warmth. Use until exhausted.
When disposing of vat you may do so onto the garden to ensure it's nutrients go back into the earth.
Note : Keep the textile/fibre submerged during process so as to avoid oxidation early & avoid it hitting the bottom sentiment. Check pockets and folds of fibres before taking them out of vat to ensure they have adequate cover.
Step 5 - WASHING following Dye Process
Once indigo dipping is complete, rinse with clean water and hang to dry.
Please visit our Care guide for advice on ongoing care of your natural dye cloth.
Health and Safety
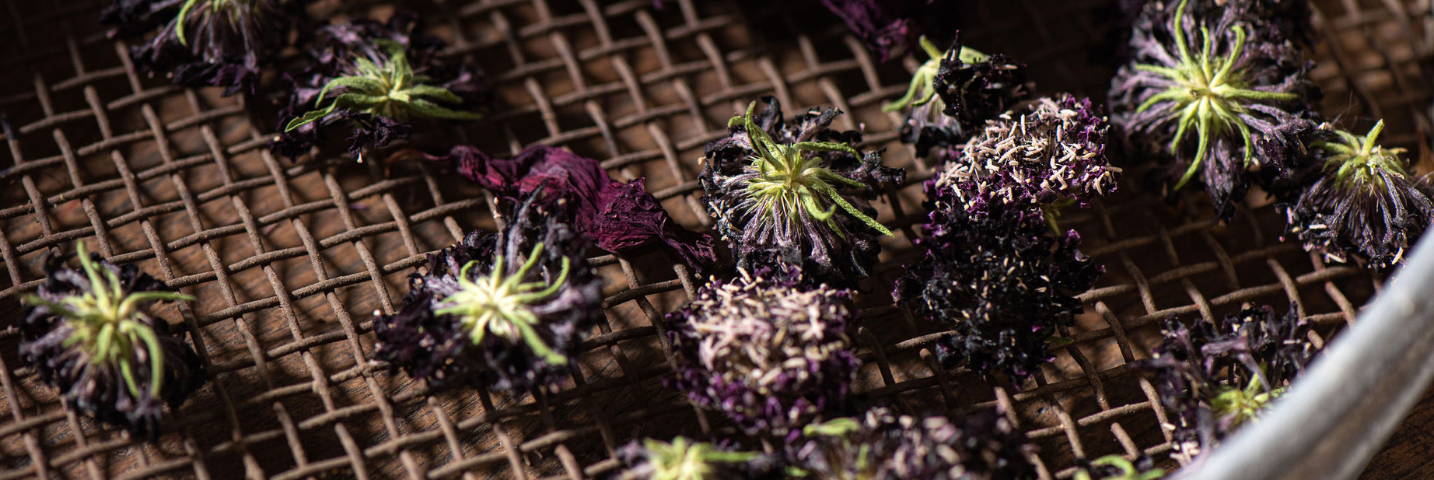
It is advised to wear a mask when weighing out and mixing dyes, fine to remove once dye is in liquid form.
Rubber gloves are recommended when hands go into water with minerals such as Alum, Alum acetate, Iron, Calcium carbonate, Soda Ash.
In regard to the disposal of what you will be using it will be safe to empty onto your garden as there will be an exhausted quantity of alum left in the water. All mordant and tannin baths can be reused with a minimal top up so no need to dispose of after each use, exhaust your baths as much as possible. If uncertain when disposing test the PH level, you are aiming for the neutral zone close to 7.
