
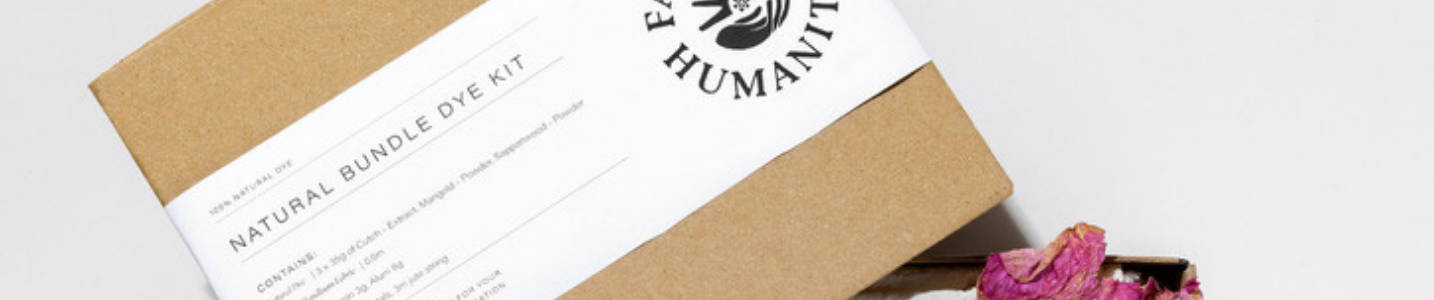
Natural Dye Bundle Dye Kit Instructions Guide
Nature is truly extraordinary, it's time to reconnect with it's wisdom and the traditional of natural dyes.
Like all journeys, your natural dye journey will be a personal one. We encourage you to dive deep into nature, to connect with the seasons experiencing all they have to offer and to learn from your journey, always respecting nature as the ultimate teacher.
Some benefits from dyeing with our kits :
Creativity
Pure enjoyment
Learning to understand nature’s chemistry
Creating a connection to our earth
An environmental perspective
Knowledge
A purpose for time management
Developing an eye and appreciation for attention to detail
Patience
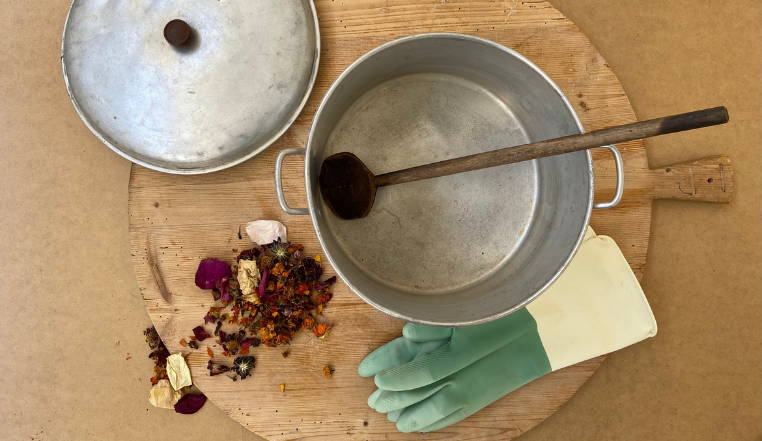
You will need :
An old stainless steel or non reactive pot with lid
Steamer tray (to sit your bundle on)
Remember to keep your cooking pots & dyeing pots & utensils separate, don't mix them.
Small mixing vessel
Mixing spoon
Bucket
Rubber Gloves (& face mask if you desire)
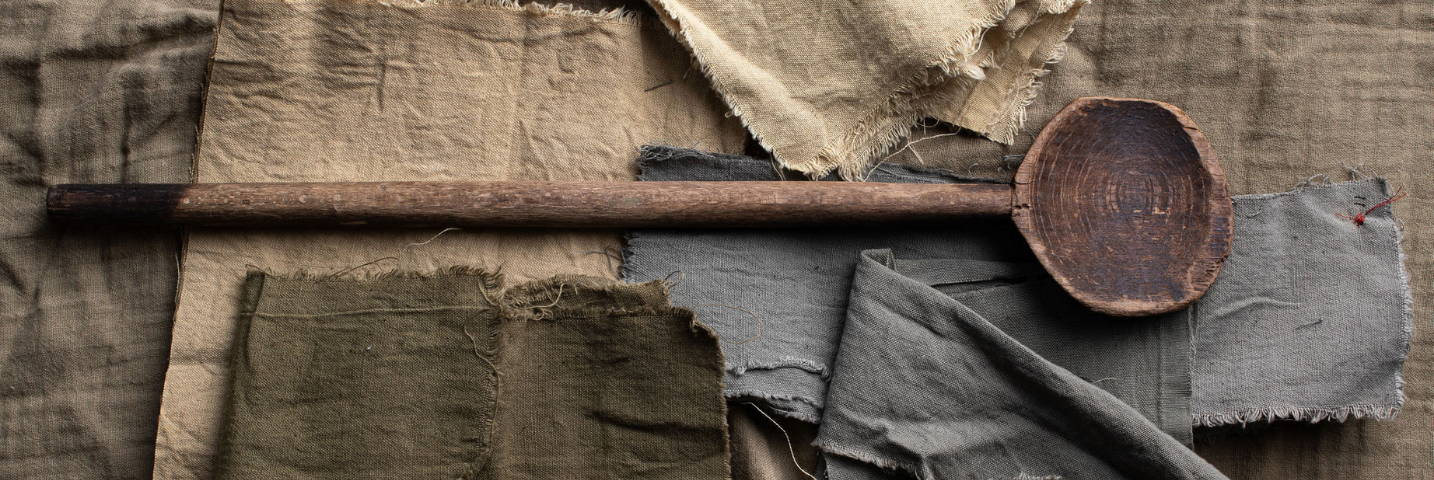
Wooden spoon
Tongs
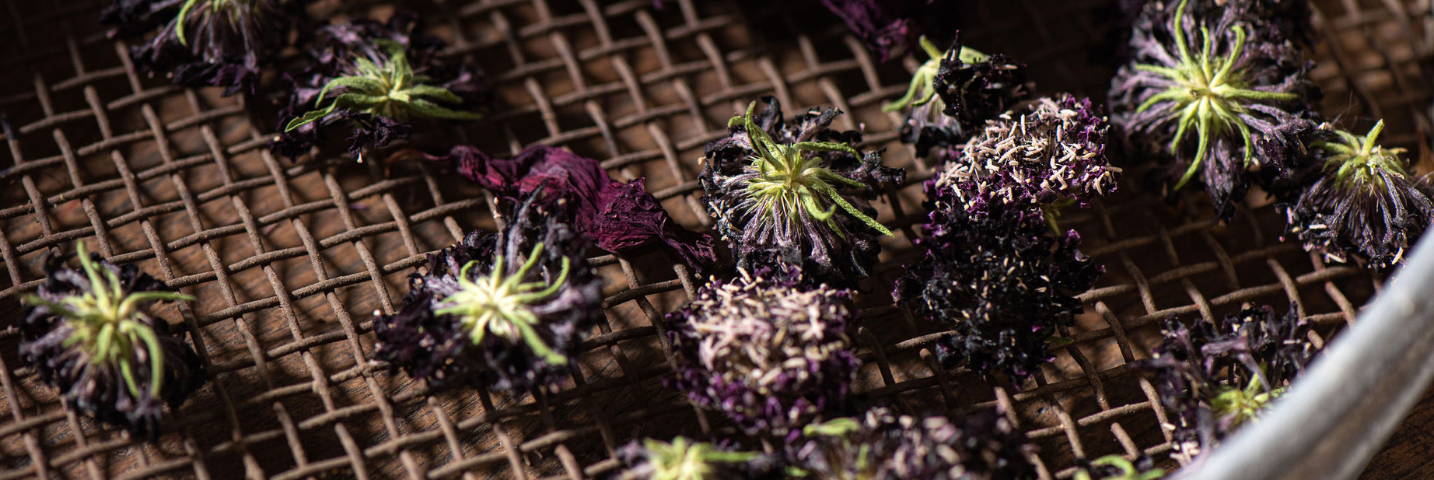
Any extra flowers from personal stocks
Step 1 - PREPARING YOUR FABRIC
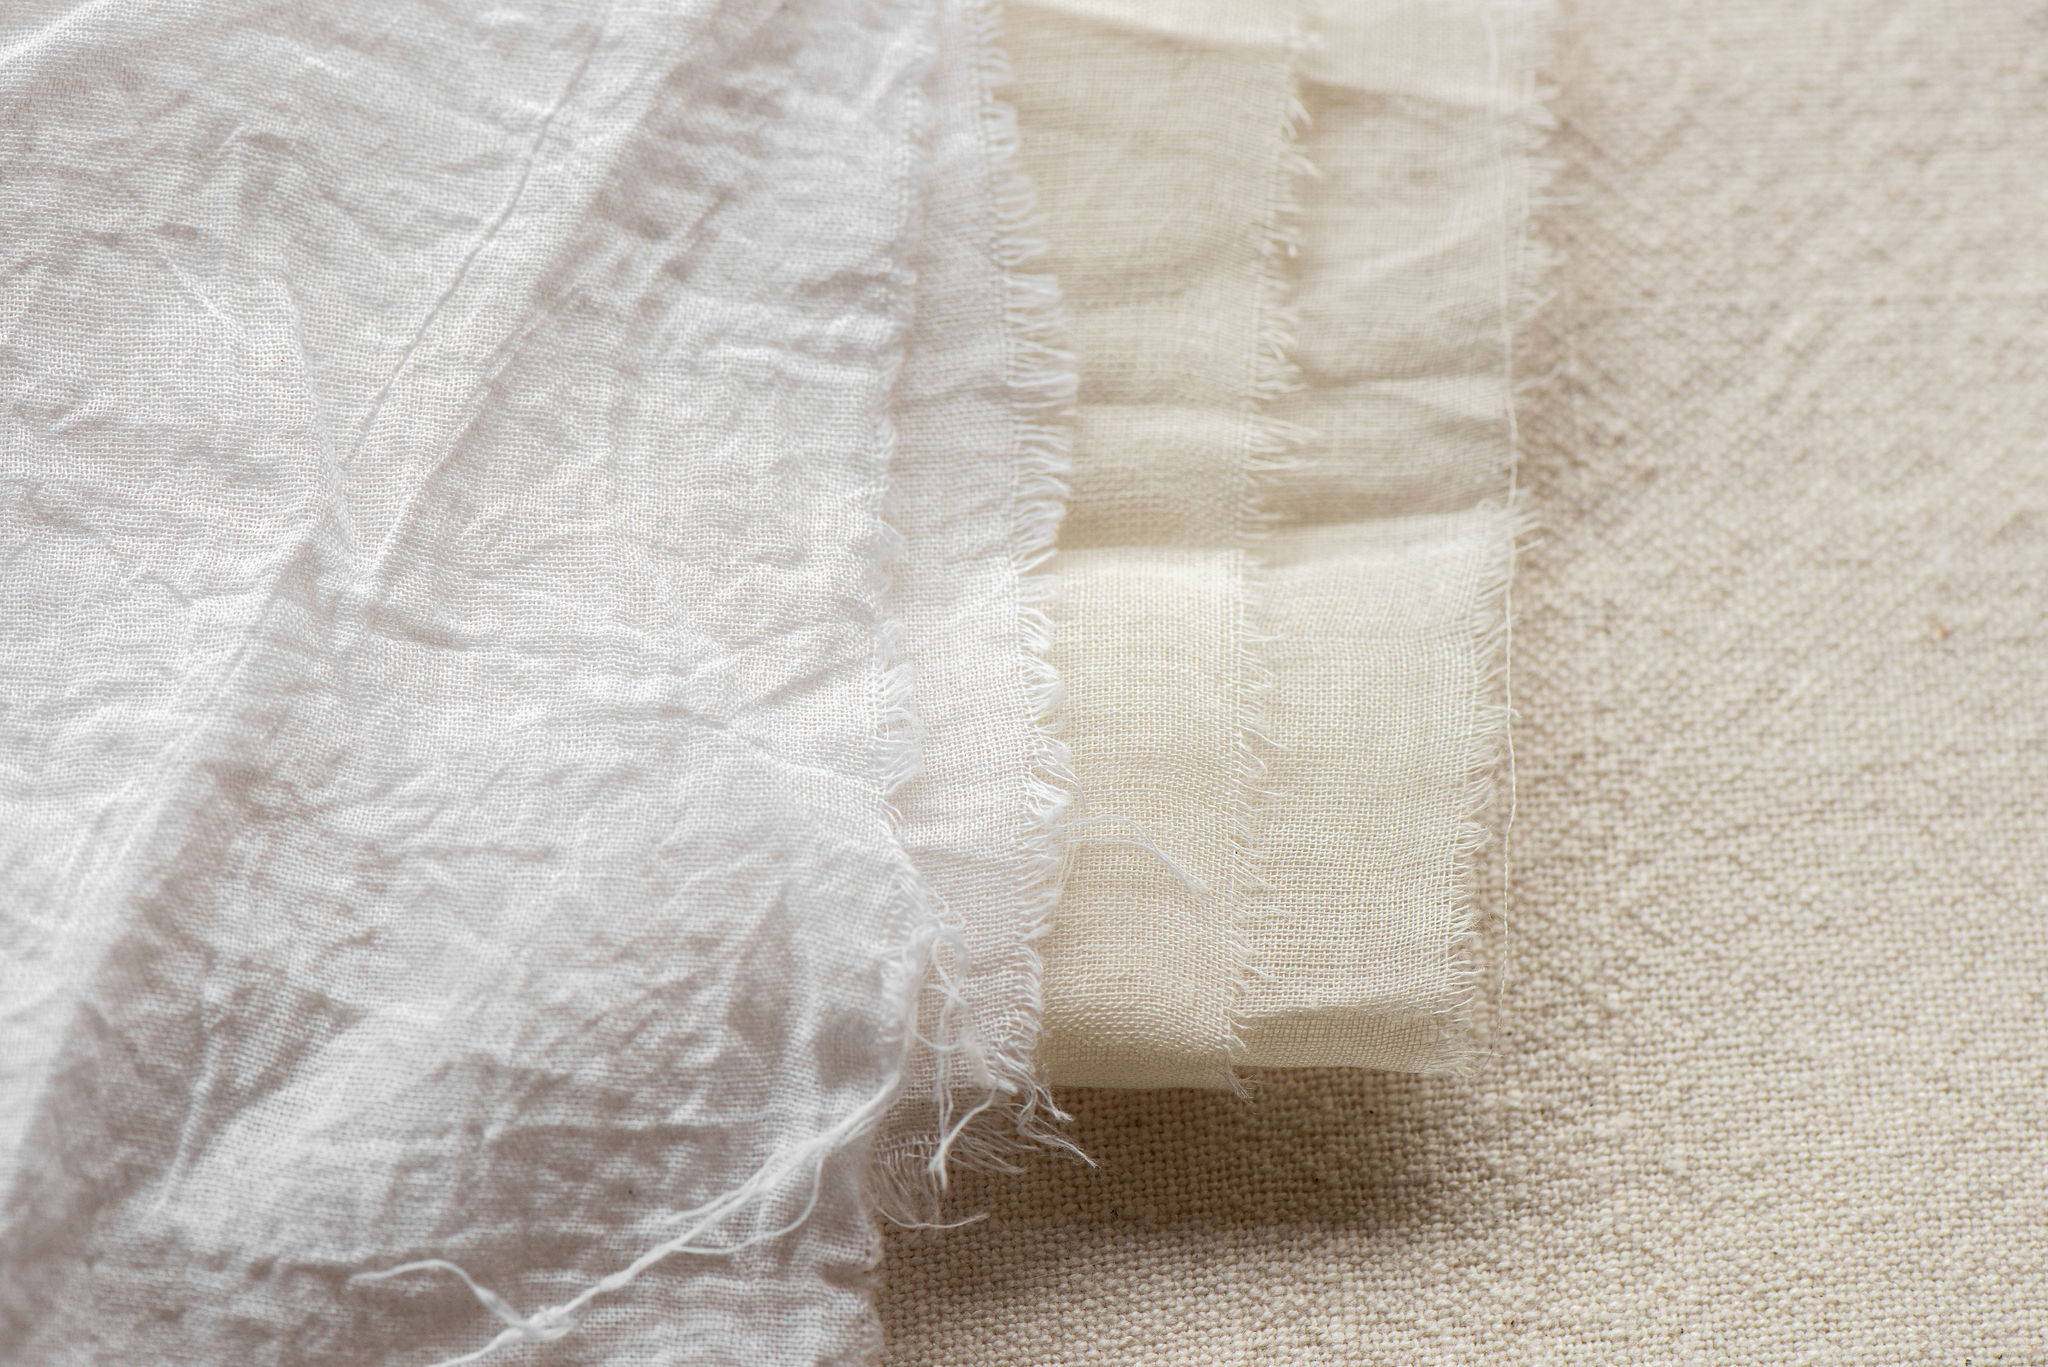
Fill a bucket with hot water and soak your fabric in overnight
Step 2 - TANNINING
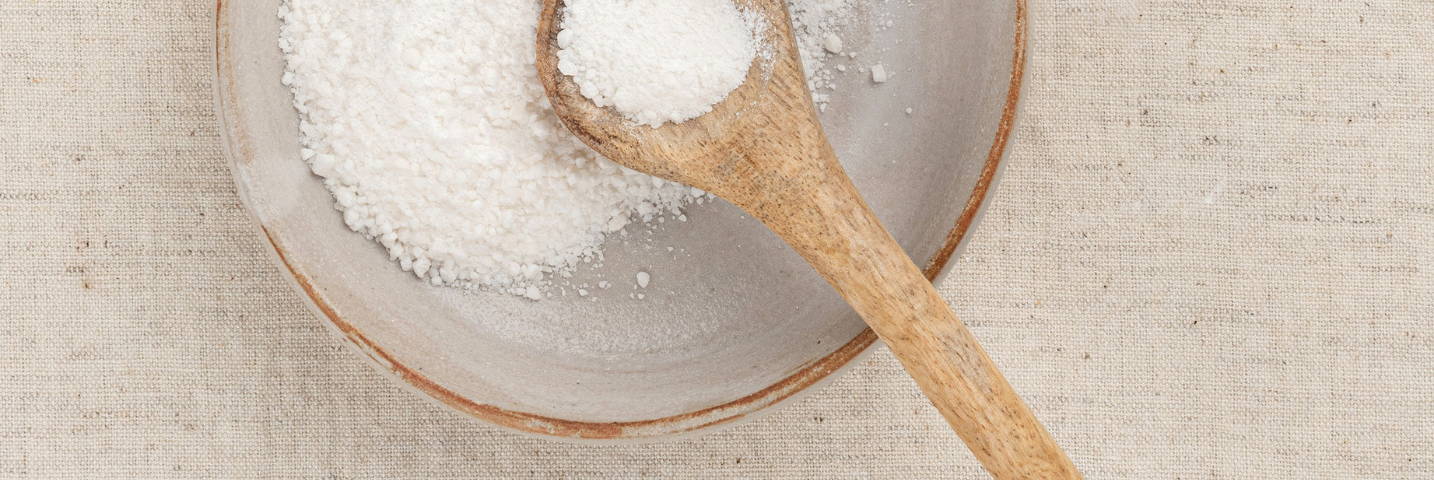
Dissolve tannin with hot water in small vessel with spoon.
Fill pot with hot tap water.
Add tannin solution to pot and stir with large wooden spoon.
Squeeze out fibre from bucket that sat overnight and add to pot constantly submerging it below the water and removing air bubbles.
Leave fibre submerged and continue to rotate below water line for 2hours, stirring occasionally.
Squeeze out, rinse in clean water.
Step 3 - MORDANTING
Fill pot (enough water to cover your fibre) with warm water from tap 40-50degrees.
Put on mask & gloves. Dissolve alum or alum acetate with hot water in small vessel with spoon. Remove mask.
Add to pot and stir with large wooden spoon.
Add your wet tannined fibre to vessel giving it a stir and leave it submerged below the water removing air bubbles.
Leave sit for 2 hours or as much as overnight, giving it a stir a couple of times during this time.
Remove fibre, squeeze off excess water and hang to dry or leave wet and proceed to dyeing.
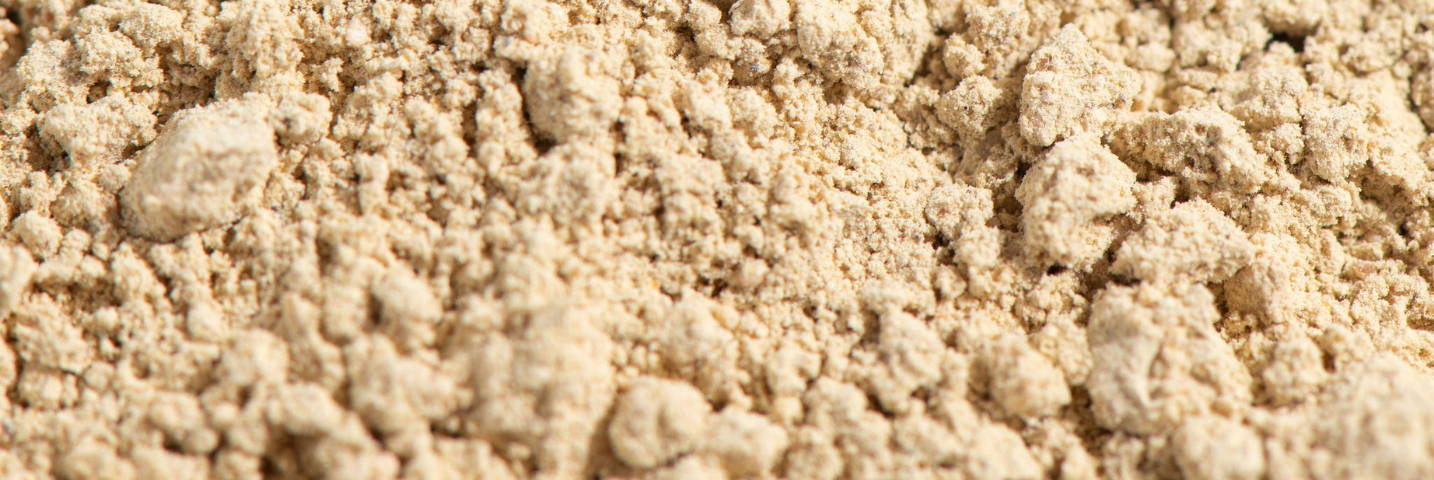
Step 4 - DYEING
We have included 3 different dye powders - Pomegranate gives soft yellows, Sappanwood gives reds and pinks and mixed with pomegranate gorgeous oranges and cutch gives soft delicate browns. You can use a tiny bit of the dye or the whole lot, the more you use the stronger the colour. You can sprinkle a little bit of each or stick to a colour combo of your choice, a tiny bit of powder goes a long way. Then add your dried flowers and fresh if you intend on using them.
Decide if you will work with 1 piece of fabric or several smaller pieces. If you need to cut do so.
Lay wet fabric out. Sprinkle desired colours and place flower petals as creatively as you like.
Roll up your decorated fibre tightly and tie with jute string, keeping roll tight from top to toe.
Add 5-10cm of water into pot and place steamer tray inside.
Sit tied package on steamer tray inside pot and cover with lid.
Gently bring to the boil, reduce heat to 35-40degrees fo 40-45mins (retain water at 5-10cm throughout), ensuring you turn your bundle with tongs at the 20min mark.
Leave bundle to cool before unwrapping. Shake off fabric, hang and dry overnight.
Iron with a steam iron and wash in cold water.
Note : flower & dye off-cuts can go directly into compost or onto garden.
Visit our Natural Dye Glossary for more information on Cutch, Pomegranate & Sappanwood.
Step 5 - CARE following Dye Process
Rinse your dyed fibre and leave to hang dry.
Please visit our Care guide for advice on ongoing care of your natural dye cloth.
Health and Safety
It is advised to wear a mask when weighing out and mixing dyes, fine to remove once dye is in liquid form.
Rubber gloves are recommended when hands go into water with minerals such as Alum, Alum acetate, Iron, Calcium carbonate, Soda Ash.
In regard to the disposal of what you will be using it will be safe to empty onto your garden as there will be an exhausted quantity of alum left in the water. All mordant and tannin baths can be reused with a minimal top up so no need to dispose of after each use, exhaust your baths as much as possible. If uncertain when disposing test the PH level, you are aiming for the neutral zone close to 7.